
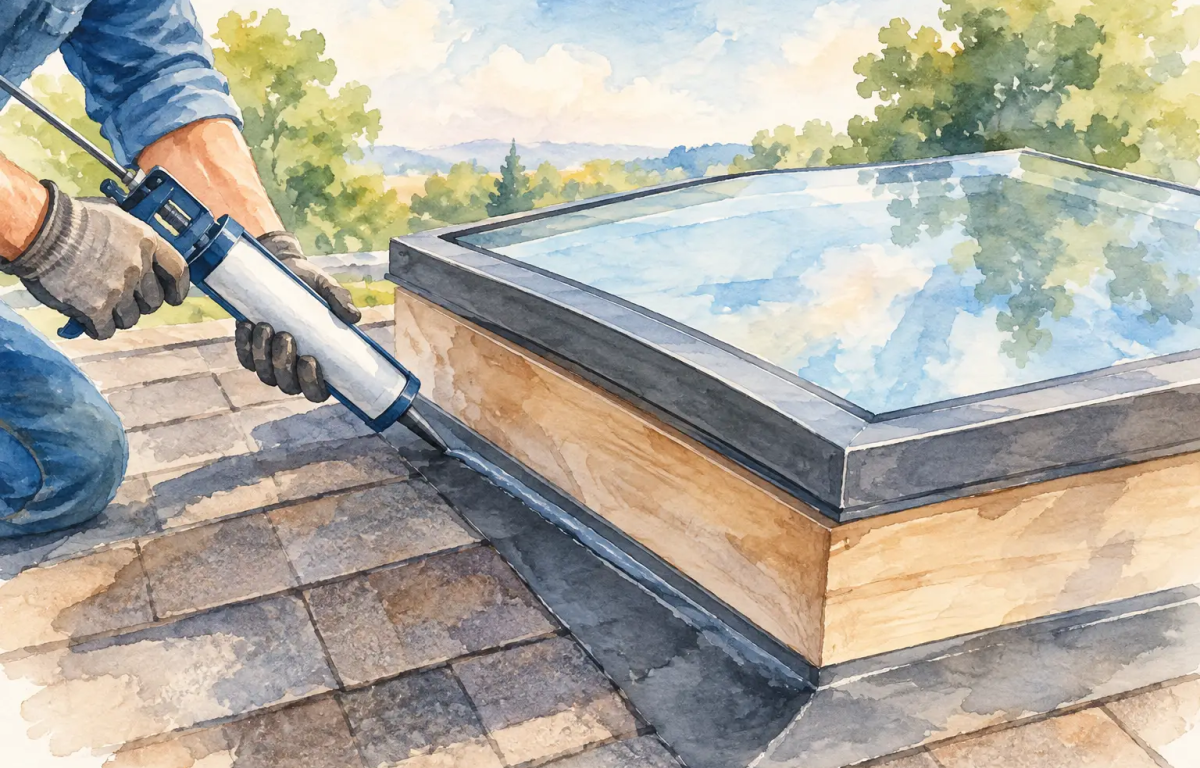
A skylight leak rarely starts where the water shows up. A damp spot on the ceiling may be several feet away from the actual failure, especially after the wind-driven rain and sudden downpours common across Upstate South Carolina. Knowing how to seal skylight curb details correctly means looking beyond a bead of caulk and restoring the roofing system that directs water around the skylight.
A curb-mounted skylight sits on a raised wood or metal frame called a curb. The skylight unit attaches to that curb, while shingles, underlayment, and flashing create the water-shedding path around it. If any one of those layers is damaged, poorly lapped, or sealed with the wrong material, rain can work beneath the roof covering.
How to Seal a Skylight Curb Without Trapping Water
The goal is not to make a skylight curb watertight with surface sealant alone. The goal is to build a layered flashing system that sheds water downhill and keeps any windblown moisture on top of the underlayment rather than inside the roof deck.
That distinction matters. Caulk may slow a small leak for a short time, but it can also hide a failed flashing detail, crack under sun exposure, or trap water where it should be able to drain. A durable repair begins with identifying the source of the leak and exposing enough of the roof around the curb to correct it.
Start with a careful inspection
Inspect the skylight from inside and outside before removing materials. Inside the attic or finished room, look for stained drywall, wet insulation, mold, darkened framing, or active drips. Outside, inspect cracked skylight glazing, failed gaskets, lifted shingles, rusted flashing, loose fasteners, and gaps at the curb corners.
Also check the roof above the skylight. Water can enter through damaged shingles, nail holes, or a punctured underlayment higher up the slope and travel down to the curb. After a hailstorm or high-wind event, this is especially common. A skylight may look like the culprit when the surrounding roof is actually the problem.
If the leak appears only during wind-driven rain, suspect side flashing, curb cladding, or gaps at the upper corners. If it leaks during steady rain, the head flashing, underlayment, or shingles above the unit may be failing. Condensation is another possibility, particularly in bathrooms or rooms with poor ventilation, but condensation usually appears as widespread moisture rather than a concentrated leak after rain.
Remove the roofing materials around the curb
For a proper repair, carefully remove the shingles surrounding the skylight curb and inspect the roof deck. This is the point where a quick patch becomes a roofing repair. Damaged or soft plywood, wet insulation, and rotten curb framing should be addressed before new flashing goes in.
Any old caulk, loose roofing cement, and deteriorated sealant should be removed from the work area. Roofing cement can be useful in limited applications, but it should not replace step flashing or a properly installed underlayment system. If the existing flashing is bent, corroded, undersized, or nailed in the wrong places, replace it rather than trying to reuse it.
Repair the curb and underlayment first
The curb itself must be sound, secure, and square. Replace rotted wood, tighten loose sections, and confirm that the skylight is properly attached. If the curb is too short for the roof type or local weather exposure, water can back up at the sides during heavy rain. That is a design issue, not a caulking issue.
Once the curb is ready, install self-adhered flashing membrane around its base. The exact sequence depends on the skylight manufacturer and roof system, but the principle stays the same: start low and overlap each higher layer over the layer below it. This shingle-style layering moves water down the roof instead of giving it a path behind the membrane.
The membrane should run onto the roof deck and turn up the curb as required by the skylight instructions. Work the material tightly into corners without tearing it, and avoid wrinkles that can create channels for water. On roofs with low slopes, valleys, or heavy tree cover, waterproofing details deserve even more attention because water drains more slowly and debris can hold moisture against the flashing.
Install Skylight Curb Flashing in the Right Order
The flashing is what does most of the day-to-day work. A curb-mounted skylight typically needs apron flashing at the bottom, step flashing along both sides, and head flashing across the top. Many skylight manufacturers provide flashing kits designed for a specific model and roof material. Using the matching kit is usually the safest route because the parts are sized and shaped to work together.
At the bottom of the curb, the apron flashing should direct water onto the shingles below. Along the sides, individual step-flashing pieces are woven between each course of shingles. Each piece overlaps the one below it, allowing rain to drain naturally down the roof. A single continuous strip of metal on the sides often does not perform as well as properly layered step flashing on an asphalt-shingle roof.
At the top, head flashing directs water around the upper edge of the curb. The underlayment above the skylight must lap over the head flashing so water cannot run behind it. This upper section is one of the most common failure points, especially when a prior installer nailed through the wrong area or relied on sealant to compensate for missing flashing.
Fasteners should be placed where the manufacturer allows them and where they will remain protected by the next layer of roofing. Exposed fasteners require the correct compatible sealant, but sealant should be used as a secondary defense, not as the main waterproofing method.
Use sealant only where it belongs
When homeowners ask how to seal skylight curb edges, they often picture applying a thick bead of caulk around every joint. That can create more trouble than it solves. Never block intended drainage paths or weep channels on the skylight frame. Water that enters these channels must be able to escape.
Use a high-quality exterior sealant that is compatible with the skylight frame, flashing metal, and roofing materials. Butyl-based flashing tape and manufacturer-approved sealants are common choices, depending on the detail. Silicone, asphalt cement, and generic construction caulk are not interchangeable. The wrong product may fail to adhere, damage a component, or make later repairs harder.
If the skylight glass seal has failed, you may see fogging or moisture between panes. Exterior curb sealing will not fix that problem. Likewise, cracks in the skylight dome or frame call for component repair or replacement, not more caulk around the perimeter.
Know When a Repair Is Not Enough
A localized flashing failure can often be repaired successfully when the skylight is relatively new and the surrounding roof still has useful life. But if the roof is nearing replacement age, the skylight is 15 to 20 years old, or the unit has repeated leaks, replacement may be the better investment.
Replacing an aging skylight while the roof is being replaced avoids paying twice to remove and reinstall shingles and flashing. It also gives the homeowner an opportunity to upgrade to a more energy-efficient model with a factory-engineered flashing system. In many cases, this provides better long-term protection than trying to extend the life of a worn unit with repeated patchwork.
Storm damage adds another layer to the decision. Hail can crack acrylic domes, loosen flashing, bruise shingles, and damage the roof system around a skylight. High winds can lift shingles and break the seal at critical overlaps. Documenting the damage promptly with photos and a detailed inspection can be helpful when an insurance claim is involved.
Protect the Roof, Not Just the Skylight
A skylight curb repair affects shingles, flashing, underlayment, roof decking, and interior finishes. That is why a leak should be handled as a roof-system issue rather than a simple caulking job. Temporary measures may limit active water intrusion, but a permanent repair requires the right materials, correct overlap sequence, and close attention to the roof area above the skylight.
For homeowners in Laurens, Greenville, Anderson, Greenwood, and Spartanburg, fast action after a storm can prevent a small skylight leak from becoming damaged insulation, stained ceilings, or rotted framing. Extreme Roofing can inspect the skylight, surrounding roof, and storm-related damage to help you make a clear repair-or-replace decision. Stop the leak at its source, protect the structure underneath, and give your home the dependable weather protection it needs.