
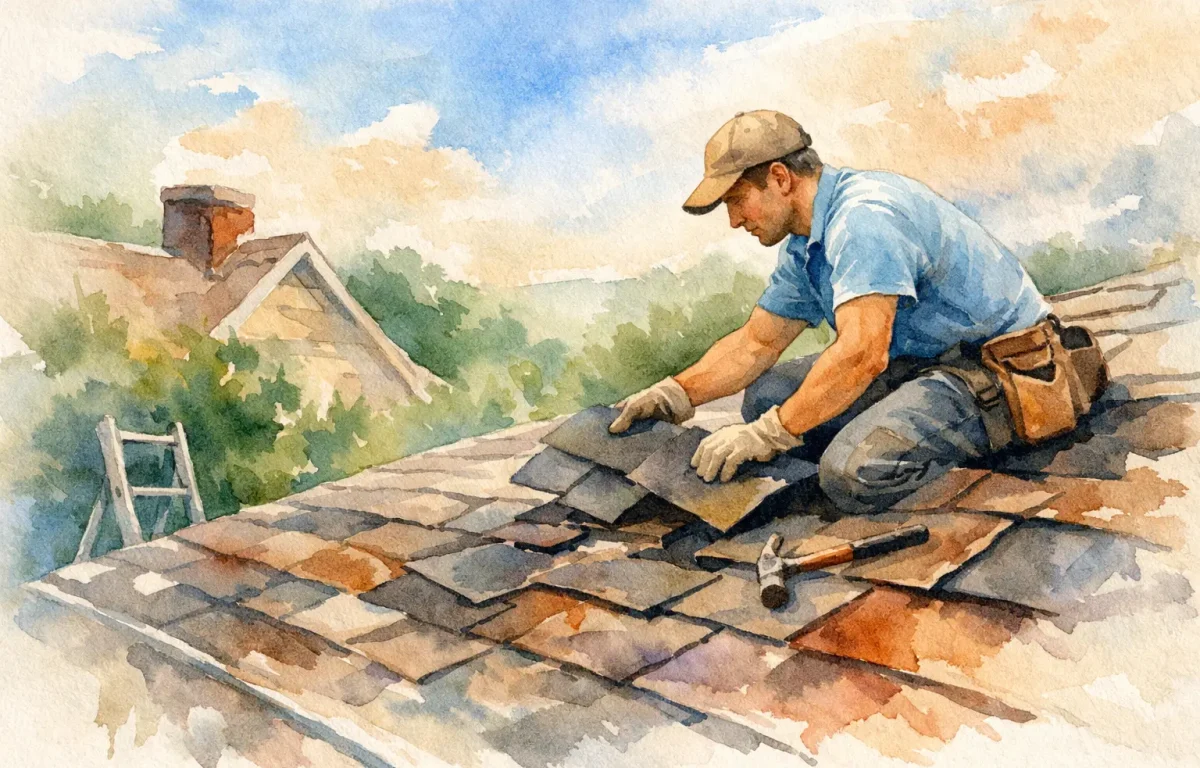
A few missing shingles after a South Carolina storm can look like a small problem from the ground. Then the next hard rain rolls through, water finds its way under the roof system, and a simple repair starts turning into stained ceilings, wet decking, and a much more expensive fix. That is why homeowners often ask how to replace roof shingles before minor damage spreads.
The honest answer is that replacing a few shingles is possible for some homeowners, but it is not always a smart DIY job. Roof pitch, storm damage, heat, brittle shingles, and hidden decking issues can turn a quick repair into a safety risk. If you are dealing with isolated damage and you are comfortable working at height, this guide will help you understand the process. If the roof is steep, the damage is widespread, or the shingles were torn off by wind or hail, it is usually better to have a licensed roofing contractor inspect the full system first.
When replacing shingles makes sense
A targeted repair usually makes sense when the damage is limited to a small area and the rest of the roof is still in good condition. That might mean one or two shingles blew off, a tab cracked, or a section lifted and never sealed back down. In those cases, replacing the damaged pieces can stop leaks and extend the life of the roof.
It makes less sense when the roof is older, the shingles are fading or brittle, or storm damage shows up in more than one area. If you replace a handful of shingles on a roof that already has widespread wear, you may solve one visible problem while missing another. Color matching can also be tough, especially on sun-aged roofs.
In Upstate South Carolina, storms often damage more than the obvious spot. Wind can break the seal on shingles that still appear attached, and hail can bruise the mat without knocking anything loose. That is one reason a professional inspection matters after severe weather.
How to replace roof shingles: tools and materials
If you are handling a small repair, start with the right materials. You will need replacement shingles that match the existing type as closely as possible, a flat pry bar, roofing nails, a hammer, roofing sealant, a utility knife, and proper ladder safety equipment. A roofing nail gun can speed things up, but for a small repair, hand nailing is usually enough.
The match matters more than many homeowners expect. Asphalt shingles vary by brand, thickness, exposure, and color blend. Even if the new shingle is close, it may still stand out. That is cosmetic, but using the wrong size or style can create water-shedding problems.
You also need to pay attention to weather. Roofing work on a hot afternoon can damage shingles and put you at risk. A windy day adds another layer of danger. Dry, mild conditions are best.
Start with a close inspection
Before you pull a single nail, inspect the area carefully. Look for shingles that are missing, curled, cracked, torn, or lifted. Check the surrounding course too, because roofing damage often spreads beyond the most visible spot. If water got in, the decking underneath may be soft or stained.
This is where many DIY repairs go sideways. Homeowners replace what they can see and miss what is happening under the shingle line. If the roof deck is rotted, if flashing nearby is loose, or if moisture has been trapped for a while, replacing shingles alone will not fix the real issue.
If you can safely access the attic, check for wet insulation, daylight through the decking, or signs of staining. Those clues can tell you whether the damage is recent and localized or part of a larger problem.
Removing the damaged shingle without creating more damage
Asphalt shingles are layered, so you cannot just pull one piece out cleanly. The shingle above it overlaps the nails that hold it in place. Start by gently lifting the edges of the shingles above the damaged one. Use a flat pry bar to break the adhesive seal carefully. Older shingles can crack easily, so patience matters.
Once the seal is loosened, remove the nails holding the damaged shingle. You may also need to remove or loosen nails in the shingle above it to create enough room. Slide the damaged shingle out slowly. If it resists, stop and check for another fastener instead of forcing it.
This step is where brittle roofs become a problem. On an older roof, surrounding shingles may crack as you lift them. If that starts happening, the repair can quickly spread into a larger section.
Installing the new shingle correctly
Slide the new shingle into place so it lines up with the course around it. The bottom edge should match the reveal of neighboring shingles. Once it sits correctly, nail it according to the manufacturer pattern, typically just below the adhesive strip. Use the same number of nails as the surrounding shingles, and make sure the nail heads sit flush rather than cutting into the material.
If you had to loosen the shingle above, renail that section as needed. Then apply a small amount of roofing sealant under the tabs you lifted to help them bond back down. Do not overdo the sealant. Too much can interfere with drainage or create an uneven look.
The goal is not just to put a new shingle on the roof. The goal is to restore the water-shedding pattern so wind and rain move across the roof the way they should.
What homeowners often miss
The basic steps for how to replace roof shingles sound straightforward, but roofing problems are rarely isolated. A missing shingle near a valley, chimney, skylight, or pipe boot may actually be a flashing problem. A torn section along the roof edge may point to wind uplift across a wider area. Granule loss can signal that the shingle is aging out even if it is still attached.
Storm damage can also affect gutters, fascia, siding, and attic ventilation. If the roof took a hard hit, it is worth looking at the whole exterior system instead of treating the roof as a standalone issue.
That broader view is especially important when insurance may be involved. If damage came from wind or hail, documentation matters. Photos, inspection notes, and a clear scope of damage can make a major difference in how smoothly a claim moves.
When not to do it yourself
There are times when DIY repair is simply not the right move. If the roof is steep, high, wet, or difficult to access, the safety risk outweighs the savings. If shingles are missing in multiple areas, if leaks have already reached the interior, or if you see signs of structural damage, the repair needs a trained eye.
You should also pause if the damage happened after a major storm. What looks like a few missing tabs from the yard can be part of a larger wind or hail event. In that situation, a professional inspection gives you a clearer picture before you spend time and money patching the surface.
For many homeowners, the biggest benefit of calling a contractor is not just labor. It is knowing whether the issue is a simple repair, an insurance claim, or the first sign that the roof system is nearing the end of its service life.
A better standard for storm-prone homes
In areas like Laurens, Anderson, Greenwood, Greenville, and Spartanburg, roofing work has to be done with local weather in mind. Heat, humidity, hail, and high winds all put pressure on roofing materials. That means repairs need to be more than quick cosmetic fixes. They need to hold up through the next storm cycle.
A dependable roofing company should inspect beyond the missing shingle, explain what they find in plain language, and give you a written scope of work. If insurance is part of the picture, they should also help document storm-related damage clearly. That kind of process protects the home and cuts down on surprises.
Extreme Roofing works with homeowners across Upstate South Carolina who need that kind of straightforward support after storms. Whether the answer is a small repair or a full replacement, the real job is protecting the property and restoring peace of mind.
If you are weighing how to replace roof shingles on your own, treat the decision like any other home repair that affects the structure. A careful fix can buy you time. The wrong fix can hide damage until the next storm finds it first.