
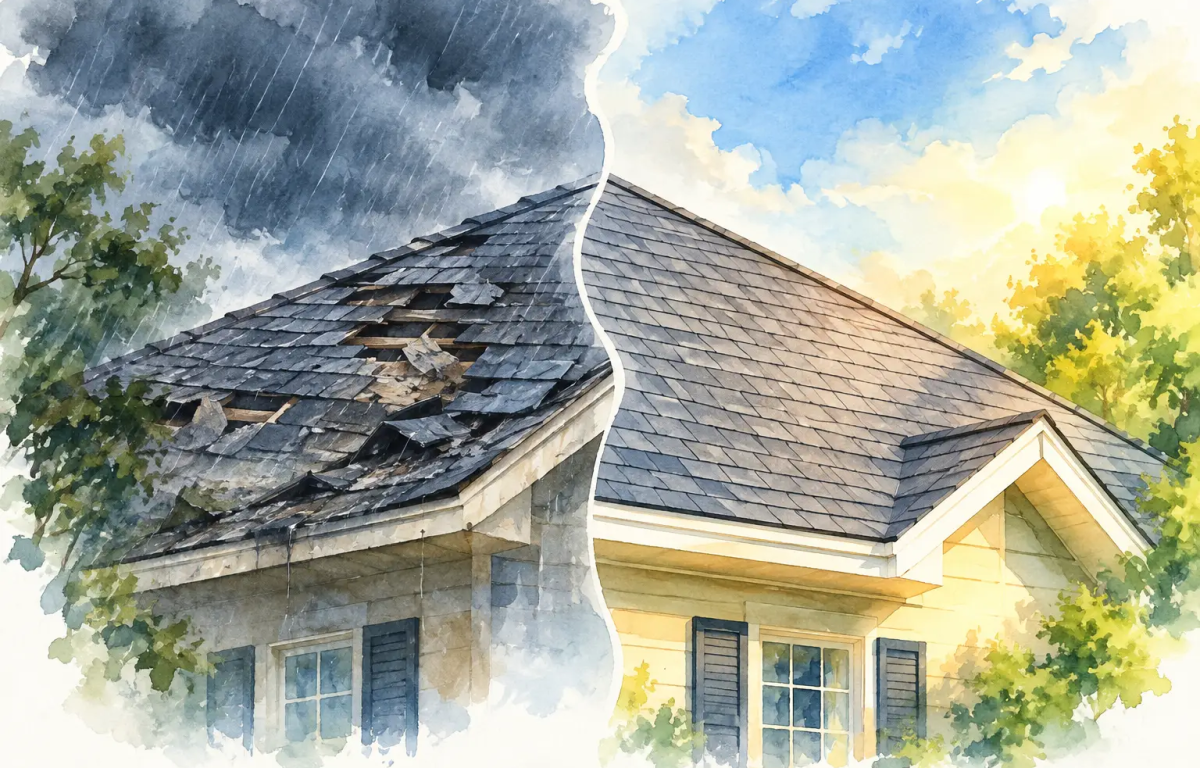
A before after storm roof restoration project is about much more than replacing visible shingles. For an Upstate South Carolina homeowner, the real change is moving from uncertainty – a leak, loose materials, possible hail damage, and an insurance claim to sort through – to a home that is protected, documented, and ready for the next hard rain.
Storm damage can look minor from the driveway and still create serious problems beneath the surface. That is why the best results start with a detailed inspection and a clear plan, not a rushed estimate or a contractor who only looks at one section of the roof.
What a Storm-Damaged Roof Looks Like Before Restoration
The “before” stage often starts right after high winds, hail, or a severe thunderstorm. You may see shingles on the lawn, lifted edges along the roofline, dents in metal vents, or granules collecting in gutters and downspouts. Those signs deserve attention, but they are not the complete picture.
Wind can break the seal that holds shingles in place without tearing them completely off. Hail can bruise shingles and shorten their service life even when the surface does not look dramatically damaged. Water may enter around flashing, pipe boots, skylights, or damaged ridge vents, then travel before it shows up as a ceiling stain indoors.
The exterior around the roof matters, too. Bent gutters can prevent proper drainage. Damaged fascia or trim can expose wood to moisture. Cracked siding, torn screens, and dented chimney flashing may all be part of the same storm event. Treating only the most obvious roof issue can leave a homeowner with unfinished damage and more repairs later.
A professional inspection should document the roof system and related exterior components. Photos, measurements, material observations, and a written explanation give you a solid starting point whether the answer is targeted repair or full replacement. It also helps you avoid guessing when you speak with your insurance carrier.
Repair or replacement? It depends on the damage
Not every storm calls for a complete roof replacement. If damage is limited to a small area, matching materials are available, and the roof is otherwise in good condition, a repair may be the responsible choice. A repair can stop an active leak quickly and preserve a roof that still has useful life left.
Replacement becomes the stronger option when damage is widespread, shingles have lost their seal across multiple slopes, hail impacts are documented throughout the roof, or the existing system is already near the end of its lifespan. The right recommendation should be based on condition, not pressure. Homeowners deserve to understand what is damaged, what is urgent, and what each option will accomplish.
The Work Between Before and After Storm Roof Restoration
A quality restoration follows a sequence. First comes inspection and documentation. Next comes a written proposal that explains the scope of work, materials, timeline, and any related repairs needed for gutters, trim, siding, or skylights. If an insurance claim is involved, the contractor’s documentation can help you present the storm damage clearly and ask better questions during the process.
Insurance support does not mean a contractor controls the claim decision. Your carrier determines coverage based on your policy and its inspection. What a qualified local restoration contractor can do is provide accurate evidence, identify damage that may be easy to miss, and help make sure the repair scope addresses the actual storm-related issues found at your home.
Once the work is approved and scheduled, preparation protects the property. Crews should plan for landscaping, outdoor furniture, driveways, and access around the home. Roofing is active construction, so there will be noise and material movement. Good project management keeps that disruption organized and keeps the homeowner informed about what is happening each day.
For a replacement, the existing roofing materials are removed as needed to inspect the decking below. This step matters. New shingles cannot correct soft, rotten, or water-damaged decking hidden underneath old materials. Any needed wood repairs should be explained before they are completed, with clear documentation of why the repair was necessary.
Then the roof is rebuilt as a system. That includes proper underlayment, flashing at vulnerable transitions, ventilation components where needed, and correctly installed shingles. Details around valleys, walls, chimneys, skylights, and penetrations are especially important because those are common locations for future leaks when work is rushed.
At Extreme Roofing, storm restoration also means looking beyond the shingle field. If the same storm damaged gutters, trims, siding, or skylight components, coordinating those repairs helps restore the exterior as one complete protective system instead of a patchwork of separate jobs.
What You Should See After Restoration Is Complete
The most obvious result is a roof that looks clean, uniform, and secure. Shingles should lie flat, ridge lines should be straight, flashing should fit tightly, and new materials should complement the home rather than look pieced together. But appearance is only part of the outcome.
After storm roof restoration, you should also have confidence that water is being directed where it belongs. Gutters should be secured and pitched to carry runoff away. Flashing should protect joints and roof transitions. Vents, pipe boots, and skylights should be properly sealed. If repairs were made to decking or trim, those areas should be addressed before the roofing system is closed up.
The final difference is accountability. A dependable contractor does not disappear when the last shingle is installed. The project should end with cleanup, a magnet sweep for nails, removal of debris, and a final walkthrough. You should know what work was performed, what materials were used, and how to reach the team if you have a question after the job.
A finished project should not leave loose ends
Before signing off, walk around the property and look at the areas discussed in the proposal. Check that gutters and downspouts are clear, landscaping has been respected, and debris is removed. Ask about any change to the original scope and request an explanation of the completed work.
It is also smart to keep your inspection photos, proposal, insurance correspondence, and final paperwork together. Those records can be useful for future maintenance, resale conversations, or a later claim involving a separate storm.
How Homeowners Can Protect the Results
Restoration gives your home a fresh start, but regular attention helps protect that investment. After major weather, take a safe ground-level look around your home. Watch for fallen branches, missing materials, damaged gutter sections, or new stains on ceilings and attic surfaces. Do not climb onto the roof to investigate. A damaged roof can be slippery and unstable, especially after rain.
Keep gutters free of leaves and check that downspouts direct water away from the foundation. Trim back branches that can scrape the roof or fall during high winds. If you notice a leak, call promptly. A small opening can allow moisture into insulation, decking, and interior finishes long before a larger stain appears.
For homeowners in Laurens, Anderson, Greenwood, Greenville, Spartanburg, and nearby Upstate communities, timing matters after a storm. Quick documentation and a professional inspection can make the restoration process more straightforward, while waiting can allow water damage to spread and make the original cause harder to verify.
Your home does not need a cosmetic fix after severe weather. It needs a clear assessment, dependable workmanship, and a contractor who treats every detail as part of protecting the people and property beneath the roof.