
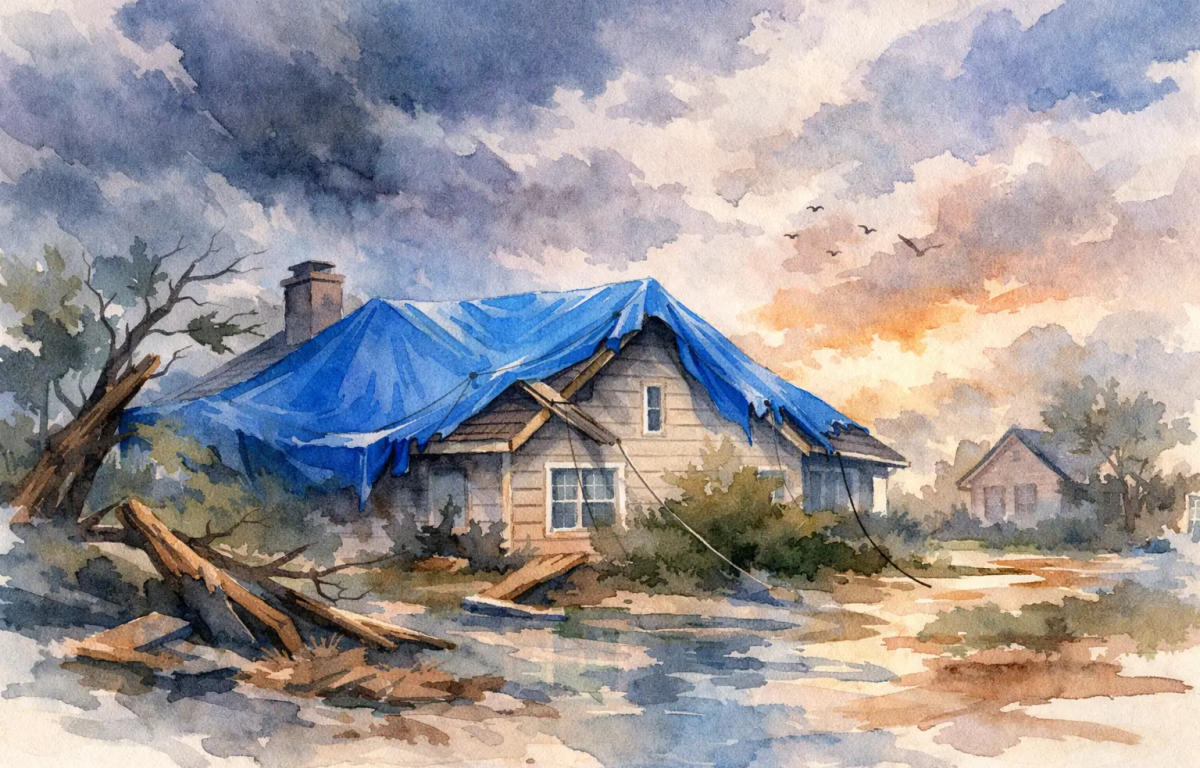
A roof leak after a South Carolina storm can move from a damp ceiling spot to soaked insulation, damaged drywall, and electrical concerns in a matter of hours. This guide to emergency roof tarping explains when a tarp can protect your home, when the situation is too dangerous for a homeowner to handle, and what to do while you wait for a professional inspection.
Emergency tarping is not a roof repair. It is a temporary measure designed to keep rain out after wind, hail, fallen limbs, or missing shingles expose part of the roof. Done correctly, it buys time for a thorough assessment, insurance documentation, and a permanent repair or replacement plan.
Start With Safety, Not the Tarp
Storm-damaged roofs are unpredictable. Shingles can be loose, decking can be weakened, and wet surfaces are slippery even on a roof that looks intact from the ground. In Upstate South Carolina, storms can also leave behind downed power lines, unstable limbs, and continuing lightning risk.
Do not climb onto the roof during rain, high winds, darkness, or active lightning. Stay off the roof if you see sagging areas, major structural damage, exposed wiring, or a large tree limb resting on the home. A tarp cannot make an unsafe roof safe.
From the ground, look for missing shingles, punctures, displaced flashing, bent gutters, damaged vents, or debris that has struck the roof. Inside, check for ceiling stains, dripping water, wet insulation, bubbling paint, or water near light fixtures. If water is close to electrical equipment, turn off power to that area only if you can do so safely from the electrical panel. When in doubt, keep clear and call for help.
If the roof is unsafe to access, a qualified emergency roofing crew has the equipment, training, and insurance to secure it without putting you or a family member at unnecessary risk.
When Emergency Roof Tarping Makes Sense
A tarp is most useful when the damage is localized and rain is expected before repairs can begin. For example, a limb may have punctured one slope of the roof, a section of shingles may have blown off, or a damaged vent may be allowing water into the attic.
It is less effective when water is entering from several areas, the roof deck has widespread damage, or the leak is traveling through the attic from a point far above the visible ceiling stain. Water often follows framing and wiring, so the stain indoors is not always directly below the roof opening.
A properly installed tarp should extend well beyond the damaged area. Covering only the visible hole can allow wind-driven rain to get underneath the edges. The goal is to direct water over the tarp and off the roof, not trap water against the damaged section.
What You Need for a Temporary Roof Cover
If conditions are dry, the roof is safely accessible, and the damage is limited, gather the right materials before you begin. A heavy-duty woven polyethylene tarp is generally better than a thin utility tarp because it stands up better to wind and rain.
You will also need lumber, typically 2-by-4 boards, exterior-grade screws or nails, a drill or hammer, a utility knife, gloves, non-slip footwear, and a stable ladder. Use a tarp large enough to cover the damaged area with at least 3 to 4 feet of overlap on every side when the roof layout allows it.
Avoid relying on bricks, loose objects, duct tape, or a few nails through the tarp. Those shortcuts can tear the material, create more roof damage, or turn loose items into hazards during the next wind event. The tarp needs secure, rolled edges anchored with lumber.
How to Install an Emergency Roof Tarp Safely
Only attempt this work in dry daylight conditions with another adult present to steady the ladder and monitor the area. Wear gloves and shoes with dependable traction. Keep children and pets away from the work zone.
1. Document the damage first
Take clear photos and video from the ground before moving debris or installing the tarp. Photograph missing shingles, damaged gutters, fallen branches, interior leaks, and any personal property affected by water. This creates a useful record for your insurance claim and helps a roofing contractor understand the immediate problem.
If a limb has pierced the roof, do not pull it free unless it is small, clearly safe to remove, and doing so will not enlarge the opening. A large limb may be supporting damaged materials or concealing a more serious structural issue.
2. Measure beyond the visible opening
Measure the damaged section from a safe position, then cut the tarp so it will run from above the damage down past the eave whenever possible. Water flows downhill, so the upper edge must extend high enough to prevent rain from getting behind it.
For damage near a ridge, the tarp may need to go over the ridge and down the opposite side. This gives the upper edge better protection from wind-driven rain. Do not force a tarp into a complicated valley, around a skylight, or under damaged flashing if doing so could cause more damage. Those areas often need professional temporary protection.
3. Place the tarp flat and smooth
Lay the tarp over the damaged area without stretching it so tightly that it can tear. Remove sharp debris beneath it if it can be done safely. Keep the tarp as smooth as possible, with no large folds that can collect water or catch wind.
Position the tarp so water has a clear downward path. It should cover the damaged portion and continue over intact roofing below. Never create a low spot where rain can pool.
4. Anchor the top edge with lumber
Roll the tarp’s top edge around a 2-by-4 board two or three times. Place that rolled edge above the damaged area and fasten the board into solid roof decking, not merely into loose shingles. Use fasteners spaced closely enough to hold against wind without splitting the lumber.
This step matters because wind can get under an unsecured top edge and lift the entire tarp. The board acts as an anchor while the rolled tarp reduces the chance of tearing around individual fasteners.
5. Secure the sides and lower edge
Roll and anchor the side edges using additional boards where needed, especially on larger tarps or exposed roof slopes. Anchor the lower edge in the same way, but make sure it remains positioned to shed water toward the gutter line.
Do not place unnecessary holes through the middle of the tarp. Fastening through the field of the tarp creates potential leak points and weakens the material. Secure the perimeter instead.
6. Check it from the ground
Once the tarp is installed, climb down and inspect the roof from a safe distance. Look for lifted corners, gaps at the upper edge, sagging sections, or areas where water could run underneath. After the next rainfall, inspect the attic and ceilings again for signs of continued moisture.
Protect the Inside of Your Home Too
A tarp helps stop additional water intrusion, but the interior still needs attention. Move furniture, electronics, rugs, and valuables away from active leaks. Use containers to catch drips and place towels around the area to limit spread.
If a ceiling is bulging with trapped water, stay out from underneath it. A water-filled ceiling can collapse suddenly. Do not puncture it near light fixtures or wiring. A restoration or roofing professional can assess the safest way to relieve the pressure and address wet materials.
Run fans or a dehumidifier once the leak is controlled, but do not assume drying visible surfaces solves the problem. Wet insulation, attic decking, and wall cavities can hold moisture long after the floor is dry. Fast action reduces the chance of mold and more extensive repairs.
Notify Your Insurance Company and Save Records
Most homeowners insurance policies require reasonable steps to prevent further damage after a covered loss. Emergency tarping can be part of that responsibility, but keep receipts for materials and emergency services. Save photos from before and after the tarp is installed, along with notes about the storm date, the time you noticed the leak, and areas affected inside the home.
Avoid approving permanent work before you understand the scope of the damage and your claim process. A detailed roof inspection can identify storm impacts that are not obvious from the ground, including hail bruising, lifted shingles, compromised flashing, and damage to gutters, siding, or skylights.
A local contractor experienced with storm restoration can document conditions clearly and explain what repairs are necessary. Extreme Roofing helps Upstate homeowners move from emergency protection to a detailed inspection, written proposal, and a practical path toward restoring the exterior.
Know When to Call for Emergency Help
Call a professional promptly when a tree has struck the home, the roof is leaking in multiple places, the decking appears soft or sagging, or you cannot safely access the damaged area. The same applies if the damage involves a skylight, chimney, roof valley, electrical equipment, or a steep roof slope.
The best tarp is the one that keeps water out without creating a second emergency. Protect your family, document what you see, and let trained roofing professionals handle any situation that puts safety or your home’s structure at risk.