
A siding problem often starts where you cannot see it. After a hard Upstate South Carolina storm, water can slip behind a loose panel, cracked trim board, or failed seal around a window and stay there long after the outside looks dry. Knowing how to check siding moisture helps you catch that hidden damage before it turns into swollen sheathing, mold, rot, or an insurance claim that becomes harder to document.
You do not need to tear into your exterior at the first sign of trouble. A careful visual inspection, a moisture meter, and a close look at the areas where water naturally collects can tell you a great deal. The goal is to identify suspicious conditions early, protect your home, and bring in a qualified exterior contractor when the evidence points to water behind the siding.
Start With the Signs Water Leaves Behind
Before using a meter, walk the outside of your home in good daylight. Focus on siding that receives wind-driven rain, especially the south and west elevations after severe weather. Look for panels that are warped, buckled, loose, cracked, or separating at the seams. Vinyl siding may conceal a problem behind it, while wood and engineered wood siding often show discoloration, peeling paint, soft spots, or swelling.
Pay close attention to transitions. Water does not always enter through the middle of a wall. It commonly gets behind siding at window and door trim, exterior light fixtures, hose bibs, utility penetrations, deck ledger connections, roof-to-wall intersections, and corners. Missing or damaged flashing in any of these areas can send water directly into the wall assembly.
Inside the home, check the corresponding wall for a musty smell, paint bubbles, stained drywall, soft trim, or unexplained humidity. A visible interior stain usually means the issue has progressed beyond a minor surface concern. Take clear photos of anything you find, particularly after hail, high winds, or a driving rain. Good documentation can be helpful if storm damage leads to an insurance claim.
How to Check Siding Moisture With a Meter
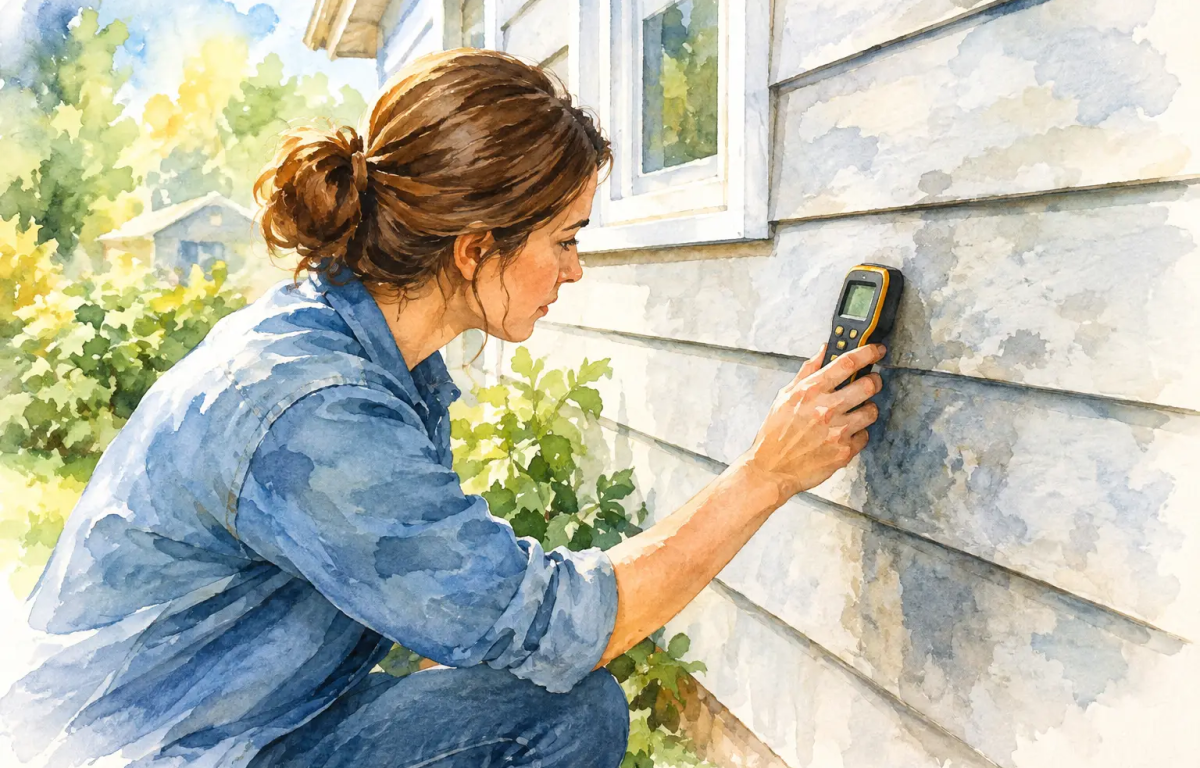
A moisture meter is the most practical tool for checking whether material beneath or around siding is holding unusual moisture. There are two main styles. Pin meters use small probes that press into wood or exposed trim. Pinless meters scan a broader area without puncturing the surface, making them useful for comparing readings across painted wood, drywall, or some engineered materials.
The meter does not diagnose the whole wall by itself. It gives you a reading that must be compared with dry areas of the same material. Start by testing a location that appears sound and protected from recent rain. Then test suspected areas near stains, damaged trim, windows, and lower wall sections. Mark the locations and readings so you can see whether a pattern develops.
For wood trim, sheathing, or framing that is accessible, readings below roughly 15 percent are generally considered dry. Readings from 16 to 19 percent deserve attention, especially if they remain elevated after several dry days. A reading of 20 percent or more can support mold growth and wood deterioration when it persists. Meter scales and materials vary, so treat these numbers as a field guide rather than a final diagnosis.
Vinyl siding presents a limitation: a meter cannot accurately measure moisture through the vinyl panel itself. The siding may feel dry while the wood sheathing or housewrap behind it is wet. Instead, use the meter on accessible wood trim, interior drywall, or exposed sheathing in an attic, crawlspace, or unfinished area. A professional can also carefully release selected siding sections to inspect the wall without causing unnecessary damage.
Fiber cement siding is durable, but it is not immune to water problems. Check the caulked joints, butt joints, flashing details, and bottom edges near grade. Moisture can damage the wood structure behind fiber cement even when the siding face still looks solid. With wood siding, test around end grain, seams, and boards closest to the ground, because these areas tend to absorb and hold water first.
Test at the Right Time
Do not test immediately after rain and assume every elevated reading means failure. Exterior materials can hold surface moisture for a short time, especially in humid South Carolina weather. Wait for at least 24 to 48 dry hours when possible, then compare the suspect area with a similar dry location on the home.
What matters most is an isolated high reading, a consistently elevated area, or a reading that does not drop as conditions dry. For example, a damp reading below a window after every storm is more concerning than a temporary reading on a shaded wall after a week of rain.
Inspect the Places Most Likely to Leak
Some siding moisture checks are more productive than others. Water follows gravity and exploits gaps, so begin with the details that should direct it away from the wall. Examine gutters for overflow, loose fasteners, and sections that dump water against the siding. Check downspouts to make sure they carry runoff away from the foundation, not onto lower wall panels.
Then look at roof edges and wall intersections. Damaged shingles, missing kick-out flashing, and clogged gutters can soak the siding beneath a roofline. A kick-out flashing is a small but critical piece of metal that directs roof runoff into a gutter instead of behind siding. When it is missing, homeowners may see stained or rotted siding near the roof-to-wall connection.
Window and door openings are another priority. Look for cracked caulk, gaps in trim, loose siding, and failed flashing. Caulk is not a substitute for proper flashing, but damaged sealant can allow wind-driven rain into vulnerable areas. If a window trim board feels soft when gently pressed or shows dark staining at the bottom corners, do not ignore it.
At ground level, keep siding properly separated from soil, mulch, and standing water. Wood-based materials installed too close to grade can wick moisture upward. Dense shrubs against the wall also restrict drying and make it difficult to spot damage early. Trim vegetation back so air can circulate and so you can inspect the exterior after storms.
Know When a Reading Calls for Professional Help
A homeowner moisture check is useful for early warning, but it has limits. You should schedule a professional siding and exterior inspection when readings stay high after dry weather, the siding is loose or visibly damaged, trim is soft, or you see stains inside the home. The same applies when a storm has damaged the roof, gutters, or flashing above the affected wall. These systems work together, and the source of the water may be higher than the visible siding damage.
Avoid pulling off large siding sections yourself. Vinyl can crack in cool weather, fiber cement can break, and incorrect reinstallation can create a new opening for water. More importantly, removing siding without understanding the flashing and weather barrier details can make it harder to determine the original cause of the problem.
A qualified contractor can inspect siding, trim, gutters, roof edges, flashing, and the wall assembly as one system. That matters after hail or wind damage, when several small failures may be contributing to the same moisture issue. A detailed inspection should identify the source, the extent of affected materials, the repairs needed, and whether the condition appears related to a covered storm event.
Protect the Wall While You Plan Repairs
If you find suspicious moisture, start by limiting additional water exposure. Clear gutters, redirect overflowing downspouts, and remove mulch or debris piled against the wall. If rain is expected and a section of siding has blown loose, secure it only if it can be done safely from the ground. Never climb onto a roof or use a ladder in wet or windy conditions to investigate storm damage.
Do not simply caulk over a warped panel or paint over stained wood. Those cosmetic fixes can trap moisture or hide the evidence while deterioration continues behind the surface. The right repair may be as small as replacing failed trim and flashing, or it may require removing affected siding to repair wet sheathing and restore the weather barrier correctly.
Your home should dry outward and shed water before it reaches the structure. If your meter readings, visible damage, or recent storm history suggest that is not happening, act before the next heavy rain. Extreme Roofing can inspect the exterior system, document storm-related concerns, and help you take the next practical step toward a dry, protected home.