
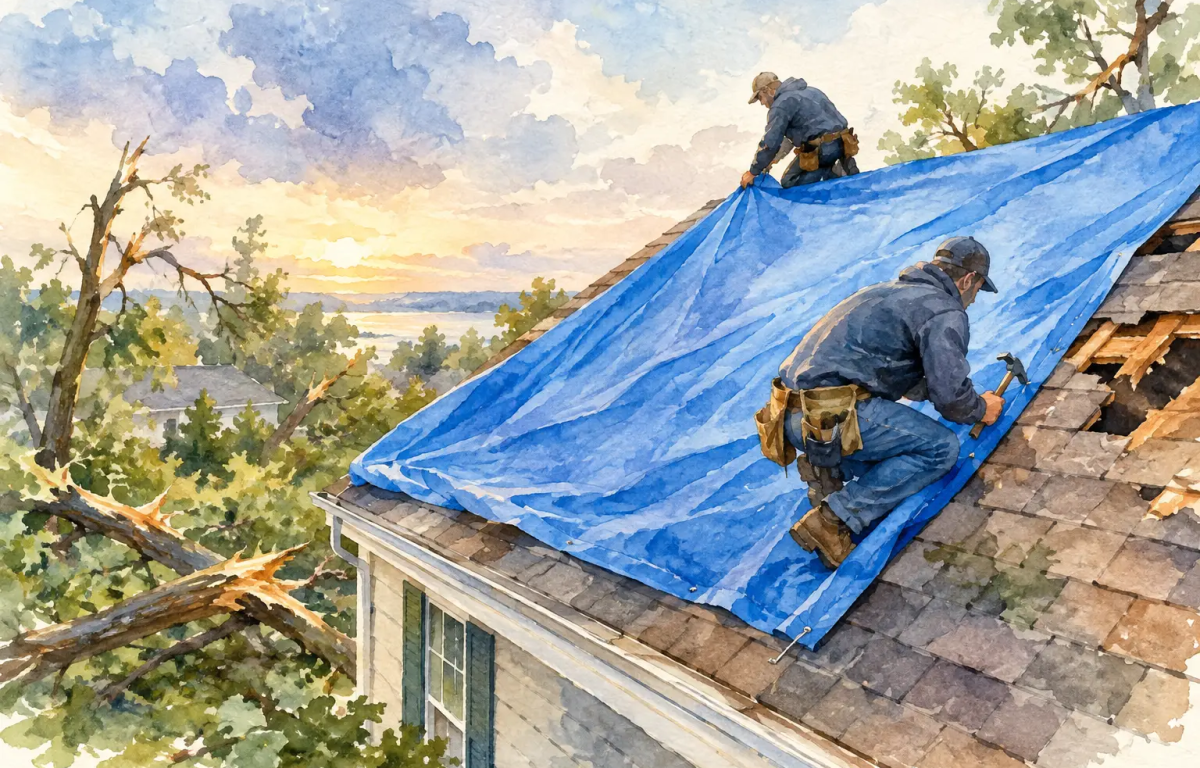
A few missing shingles can turn into stained ceilings, wet insulation, and damaged framing after the next Upstate South Carolina downpour. Knowing how to tarp roof damage before a repair crew arrives can limit water intrusion and protect your home, but only when it is done safely and secured correctly.
A tarp is a temporary weather barrier, not a roof repair. It buys time after wind, hail, falling limbs, or a sudden leak. If conditions are unsafe, the damage is widespread, or you cannot reach the affected area without climbing onto a steep roof, stay off the roof and call a licensed roofing professional. Your safety comes first.
When a Roof Tarp Is the Right Move
Tarping makes sense when roof damage has created an opening that can admit water before permanent repairs can be completed. Common examples include missing shingles or metal panels, punctures from branches, exposed roof decking, damaged ridge areas, or a leak that worsens during rain.
Do not wait for a visible ceiling leak to take action. Water can travel beneath shingles and through the roof deck before it appears inside. If you see lifted shingles after high winds, debris embedded in the roof, or water spots forming on a ceiling, treat the situation as urgent.
A tarp may not be the right DIY project if the roof is slick, steep, structurally compromised, or covered with downed limbs or power lines. Never climb near electrical lines, and never tarp a roof during lightning, heavy rain, strong wind, or after dark. A temporary leak is manageable. A fall from a roof is not.
What You Need to Tarp a Roof Safely
A durable polyethylene tarp is usually the best choice for emergency coverage. Choose one large enough to extend well beyond the damaged area. For a small opening, plan for at least 4 feet of coverage past the damage on every practical side. Water sheds downhill, so the tarp needs to reach above the damaged area and extend down toward the eaves.
Before beginning, gather the right materials:
- Heavy-duty waterproof tarp, preferably thick woven polyethylene
- 2-by-4 lumber boards long enough to anchor tarp edges
- Galvanized screws or roofing nails and a drill or hammer
- Utility knife, work gloves, safety glasses, and sturdy shoes with good traction
- Ladder stabilizer and a helper to hold the ladder and pass materials
- Rope or bungee cords for temporary positioning, not as the primary roof anchor
Avoid using bricks, loose cinder blocks, or heavy objects on top of the tarp. They can slide, tear the tarp, damage shingles, or become dangerous in wind. Also avoid driving fasteners directly through the middle of a tarp over an undamaged roof area. Every unnecessary hole creates another possible leak point.
How to Tarp a Roof Step by Step
Start by looking at the roof from the ground. Identify the damaged section, the direction water will flow, and the safest access point. Take photos before moving debris or placing the tarp. Clear documentation can help support an insurance claim, especially after a storm.
Measure for enough overlap
The tarp must cover more than the hole itself. If shingles are missing in the middle of a roof slope, the upper edge of the tarp should extend over the ridge when possible or at least several feet above the damaged section. This prevents rainwater from running under the tarp.
For damage near an eave, make sure the tarp reaches beyond the bottom edge so water can drain away from the roof rather than back beneath the covering. It is better to use a larger tarp than one that barely reaches the damaged spot.
Clear loose debris carefully
From a safe position, remove small branches, loose shingle pieces, and other debris that could puncture the tarp. Do not pull on damaged roofing materials or attempt to remove a large limb from the roof. Large debris can be holding unstable materials in place, and removing it may make the opening worse.
If the roof deck is soft, bowed, or visibly broken, do not walk on that section. Call for emergency help instead. A tarp cannot make an unsafe roof surface safe to stand on.
Position the tarp from the peak downward
With a helper, unfold the tarp and place the top edge as high on the roof as practical. For damage below the ridge, carry or pull the tarp over the ridge so water cannot enter behind the upper edge. On a one-story home with accessible damage, this may be possible from a ladder and roof edge. On taller or steeper roofs, professional installation is the safer option.
Smooth the tarp as it comes down the slope. Do not pull it drum-tight. A little give allows water to shed without placing excessive strain on the tarp or its anchors. Remove major wrinkles and folds that could trap water.
Secure the top edge with lumber
Roll the upper tarp edge around a 2-by-4 board one or two times. Place the wrapped board on the roof and fasten it into sound roof decking with screws or nails. The board spreads the force across a wider area and keeps wind from getting under the tarp.
If the tarp crosses the ridge, secure the board on the opposite slope just below the peak. This is usually more reliable than fastening along the ridge itself. Use care to avoid creating damage beyond what the storm has already caused.
Anchor the sides and lower edge
Roll the tarp sides around additional 2-by-4 boards, then fasten the boards at intervals along the roof slope. Secure the lower edge in the same manner, keeping the tarp positioned so it sheds water naturally toward the gutter line.
Do not rely on a few nails through the tarp corners. Wind can tear those points loose quickly. Board anchors are more secure and reduce the chance that a loose tarp becomes a hazard during the next storm.
Check it from the ground
Once the tarp is secured, climb down and inspect it from the ground. Look for lifted edges, areas where water could run underneath, or loose sections that may catch wind. If rain is expected soon and the tarp is not secure, do not keep making risky adjustments. Call an emergency roofing team.
Common Tarping Mistakes That Lead to More Leaks
The most common mistake is using a tarp that is too small. Covering only the visible hole ignores the fact that wind-driven rain can travel sideways and uphill beneath roofing materials. Give the tarp generous overlap, especially above the damage.
Another mistake is securing the tarp below the damaged area but not above it. Water follows gravity. If the upper edge is not properly anchored and overlapped, rain can flow directly underneath the tarp and into the roof system.
Homeowners also sometimes use rope tied to gutters, chimney stacks, or nearby trees. Rope can work as a brief positioning tool, but it rarely provides the consistent pressure needed for storm conditions. It can also bend gutters or rub against shingles. Lumber anchors fastened into sound decking are generally more dependable.
Finally, do not treat a tarp as a long-term repair. Sun, wind, standing water, and repeated storms break down even heavy-duty tarps. A tarp should be inspected after major weather and replaced or adjusted if it shifts.
Protect Your Insurance Claim While You Protect the Roof
Most homeowners insurance policies require reasonable steps to prevent further damage after a covered event. Tarping a roof can demonstrate that you acted promptly, but documentation matters.
Take wide photos of the roof and close photos of missing shingles, punctures, fallen limbs, interior water stains, and the tarp once it is installed. Keep receipts for tarp materials, emergency service, and any temporary repairs. Do not throw away damaged materials until your insurer or roofing contractor has had an opportunity to inspect them.
Be careful about authorizing permanent work before understanding the scope of the damage. A thorough inspection should look beyond the visible leak for lifted shingles, bruised areas from hail, damaged flashing, gutter impacts, and hidden moisture. Storm damage often affects more than one part of the exterior.
When to Call a Roofing Professional Instead
Call for emergency roofing assistance immediately if water is entering the home, decking is exposed, a tree has struck the roof, or a tarp cannot be installed safely. The same applies when damage is on a steep slope, near a skylight, chimney, power line, or second-story roof area.
For homeowners in Laurens, Anderson, Greenwood, Greenville, and Spartanburg, Extreme Roofing can inspect storm-related damage, install dependable temporary protection when needed, and help document conditions for the insurance process. A written assessment gives you a clearer path from emergency protection to permanent repair or replacement.
A properly secured tarp can keep a bad storm from becoming a bigger restoration project. If you are unsure whether your roof is safe to tarp, trust that instinct, protect the area below the leak, and get experienced help on site before the next round of weather moves through.